As of version 3.12 of the RATA software, you can now easily access the network selection page on your Micro-I without having to enter the URL for the page manually.
There are two ways to access this network page:
Accessing the network selection page on the login page
When first visiting the login page on your Micro-I (10.11.12.1 if using the Micro-I's hotspot), there will be a cog icon in the bottom-right of the screen.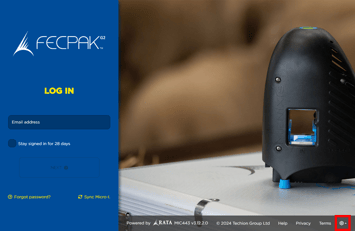
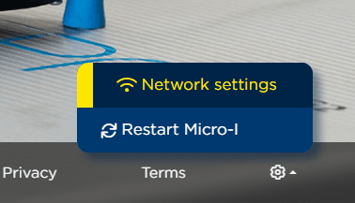
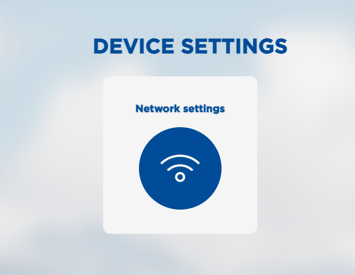
- Click the cog icon, then select "Network settings" from the list.
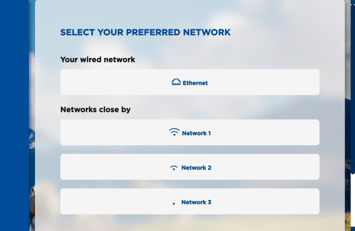
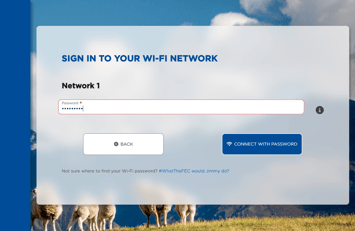
- When the page loads, wait for the Micro-I to finish scanning for networks, then select the desired network from the list of networks.
- Enter the password for the Network you selected. (Note: The Micro-I does not support wireless networks without passwords).

- Wait for the synchronization to complete. You will be redirected back to the login page.
Accessing the network selection page while logged into the Micro-I
- Log into the Micro-I using your FECPAKG2 account details.
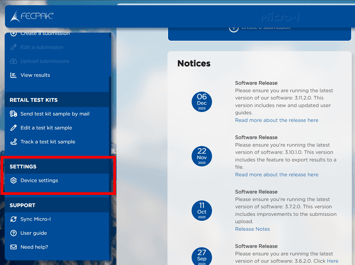
- Select "Network Settings"
- When the page loads, wait for the Micro-I to finish scanning for networks, then select the desired network from the list of networks.

- Enter the password for the Network you selected. (Note: The Micro-I does not support wireless networks without passwords).
- Wait for the synchronization to complete. You will be redirected back to the home page.